- Download and install SSHWin.
N.B. SSHWin is an old SSH Client. It may no longer work with
class-1.cs.georgetown.edu.
You might be better off using PuTTY.
- Click the icon for SshClient.exe:
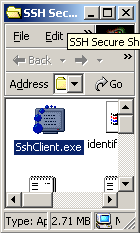
You can also launch SshClient
from the Start Menu: Start->Program Files->SSH Secure Shell.
Launching SSH Secure Shell opens the following dialog box:
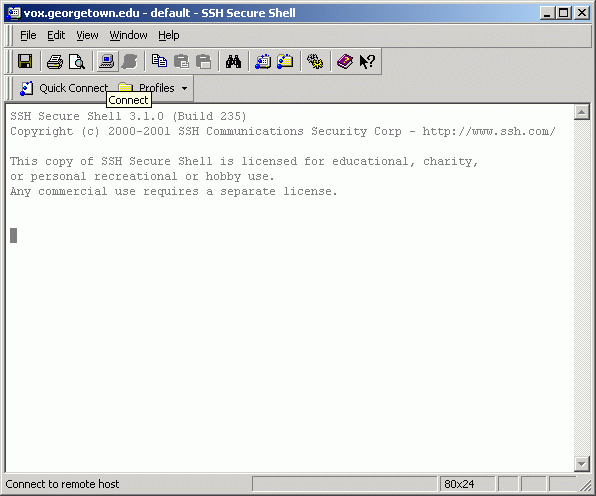
- Click the Connect button, which is the fourth button from
the left on the toolbar, the one with the image of a computer.
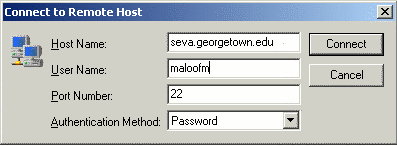
This action brings up a dialog box, in which you should type the
computer's name (i.e., class-1.cs.georgetown.edu) and your Net ID.
Note that in these examples I am connecting from a machine named
vox.georgetown.edu to a machine named seva.georgetown.edu, which is
the old name for class-1.cs.georgetown.edu.
Note that the first time you connect to cs-class-1, a dialog box will
appear asking if you want to store the host's key. You should
answer yes, and you should never see this dialog box again, unless
you connect from a different computer.
- After clicking the Connect button, another dialog box will appear
for entering your Net-ID password. Type your password and click the OK
button.

- This will log you into cs-class-1. Note the UNIX prompt at the bottom
of the window (i.e., cs-class-1%, although the prompt you see may be
different).
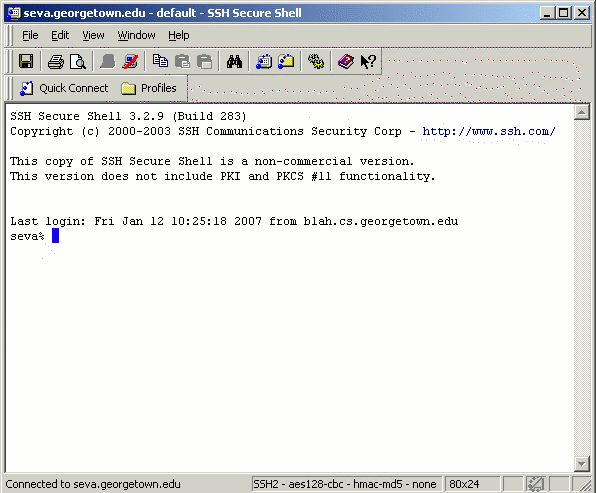
From here, you can use vi or nano to create files and
g++ to run them. Here's more information:
HOWTO: Create and compile programs under UNIX.
- If you use an integrated development environment (IDE) on a Windows
box, then you'll need to transfer the header and/or source files
(i.e., the .h and/or .cpp files) to cs-class-1 for testing and
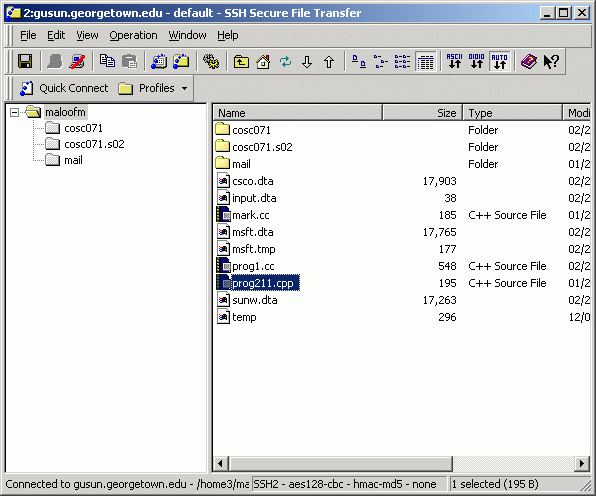
safekeeping. To do this, click the File Transfer Button
on the toolbar. This is the fourth button from the right, the one
with the folder. This action will bring up the following dialog box.
It is important to note that this is a view of your directories and files
on cs-class, not on your local PC.
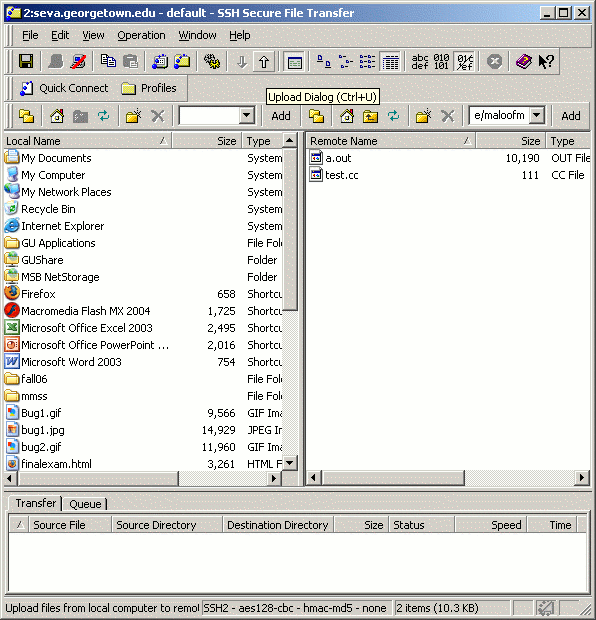
- To upload a file from your PC to cs-class-1, click the Upload button
on the toolbar (i.e., the button with the up arrow).
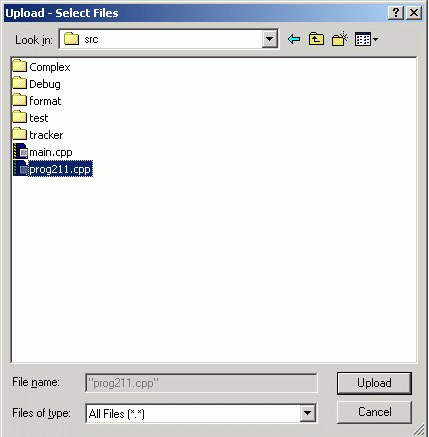
This action will bring up a dialog box for file selection.
Navigate and select the file to upload. Then click the Upload
button.
In this example, we're uploading the file
prog211.cpp.
- After the transfer, the file will appear in the file list, as
shown below
